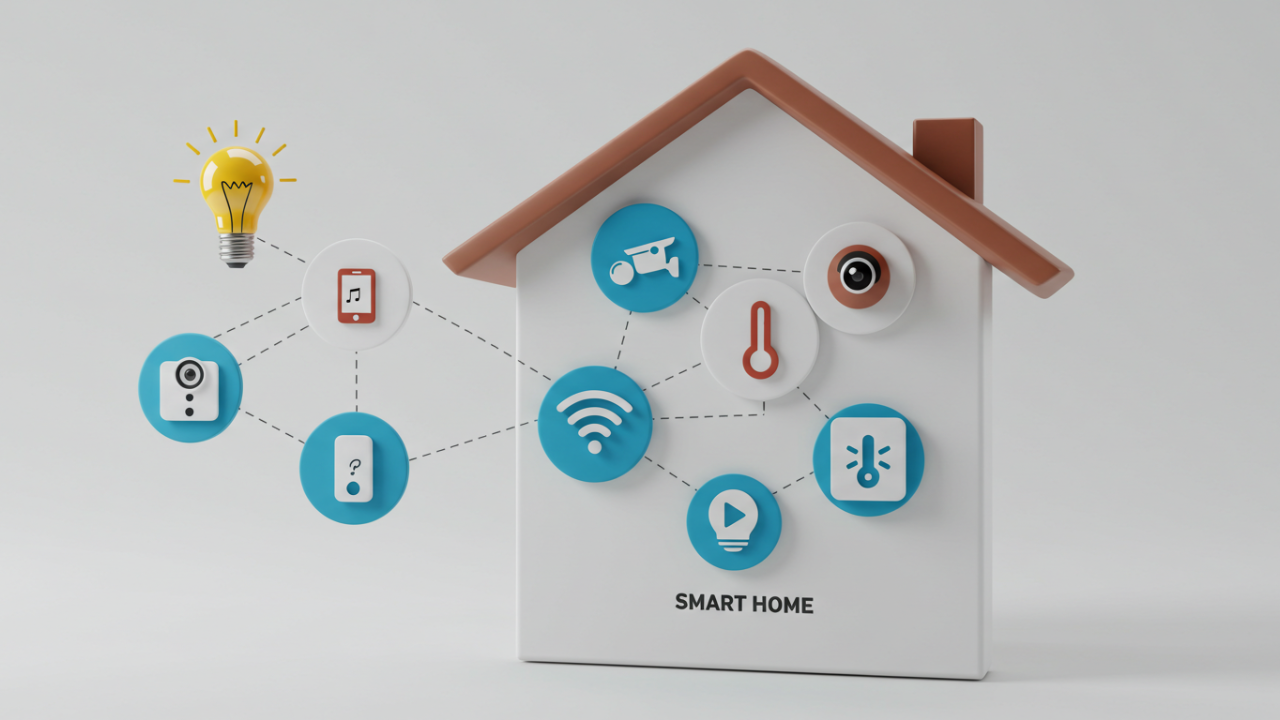
Building a smart home doesn’t require expensive proprietary devices or complex wiring. With a Raspberry Pi as the central hub, you can create a customizable system that controls lights, monitors temperature, and automates routines—all while prioritizing privacy and low cost. This tutorial guides you through setting up a basic system using open-source tools like Home Assistant. It’s ideal for beginners with some tech familiarity, and the total cost can stay under $100 if you reuse components.
By the end, you’ll have a functional setup that lets you turn on lights via voice commands, receive alerts for high temperatures, and expand as needed. We’ll focus on a Raspberry Pi 4 or 5 for reliability, but older models work too with minor adjustments.
What You’ll Need
To keep things simple, we’ll build a system that controls a single light bulb and monitors room temperature. Scale it up later by adding more sensors or devices.
Hardware Requirements
- Raspberry Pi board: A Raspberry Pi 4 (2GB model) or newer is recommended for smooth performance. Price: ~$35–$50.
- MicroSD card: At least 16GB, Class 10 for speed. You’ll install the operating system here.
- Power supply: Official Raspberry Pi USB-C adapter (5V, 3A) to avoid instability.
- Temperature sensor: DHT22 or similar (connects via GPIO pins). Cost: ~$5.
- Relay module: Single-channel 5V relay to control a light bulb safely (handles high voltage). Cost: ~$3.
- Smart bulb or lamp: Any standard bulb wired through the relay; for wireless, use a Zigbee bulb if expanding.
- Case and cables: Basic enclosure for the Pi, jumper wires for connections, and an Ethernet cable for initial setup (Wi-Fi works too).
- Optional: USB Zigbee adapter (~$20) for integrating commercial smart devices like Philips Hue.
Total estimated cost for basics: $50–$80.
Software Requirements
- Raspberry Pi OS: Lite version for efficiency.
- Home Assistant: Free open-source platform for automation.
- Mobile app: Home Assistant Companion for iOS/Android to control from your phone.
- No coding required initially, but basic terminal commands help.
Step-by-Step Setup
Follow these steps in order. Assume you have a computer to prepare the SD card.
Preparing the Raspberry Pi
- Download the Raspberry Pi Imager from the official website (raspberrypi.com/software).
- Insert your MicroSD card into your computer.
- In the Imager, select “Raspberry Pi OS (other)” > “Raspberry Pi OS Lite (64-bit)” for a headless setup.
- Enable SSH under advanced options (set a username/password) and configure Wi-Fi if not using Ethernet.
- Write the image to the SD card, then insert it into the Pi and power it on.
- From your computer, SSH into the Pi using ssh [email protected] (replace “pi” with your username). Update the system: sudo apt update && sudo apt upgrade -y.
This creates a stable base without a graphical interface, saving resources.
Installing Home Assistant
Home Assistant is the brain of your system, running on the Pi.
- Install Docker for containerized apps: sudo apt install docker.io -y, then add your user to the Docker group: sudo usermod -aG docker $USER and reboot.
- Install Home Assistant using the official supervised installer. Run: curl -sL https://raw.githubusercontent.com/home-assistant/supervised-installer/master/installer.sh | bash -x.
- Wait 10–20 minutes for installation. Access the web interface at http://raspberrypi.local:8123 from another device on the same network.
- Create an account during onboarding. Set up your location for automations like sunrise-based lighting.
If installation fails due to dependencies, check the Home Assistant docs for your Pi model.
Connecting Hardware Devices
Now wire up the sensors and relay.
- Power off the Pi. Connect the DHT22 sensor: Data pin to GPIO 4, VCC to 5V, GND to ground. Use jumper wires.
- Connect the relay: VCC to 5V, GND to ground, signal to GPIO 17. Wire the relay’s NO (normally open) terminal to your lamp’s live wire—handle AC carefully or use a pre-wired smart plug for safety.
- Boot the Pi. Install required libraries via SSH: sudo apt install python3-pip -y, then pip3 install Adafruit_DHT RPi.GPIO.
- In Home Assistant, add integrations: Go to Settings > Devices & Services > Add Integration. Search for “Raspberry Pi GPIO” and configure pins for the relay (output) and sensor (input).
Test by toggling the light from the Home Assistant dashboard.
Creating Automations
Automations make your home “smart.”
- In Home Assistant, go to Settings > Automations & Scenes > Create Automation.
- Example: Temperature alert. Trigger: When DHT22 temperature > 25°C. Action: Send notification to your phone app.
- Light automation: Trigger: Sunset (use built-in sun integration). Action: Turn on relay-connected light.
- Voice control: Integrate with Google Assistant or Alexa via Home Assistant Cloud (free trial available).
Save and test. Use YAML editing for advanced rules if needed.
Expanding Your System
Once basic, add more:
- Security camera: Integrate a USB webcam with MotionEye add-on.
- Voice assistant: Set up Rhasspy for offline voice commands.
- Energy monitoring: Add current sensors for appliances.
Keep everything local to avoid cloud dependency.
Security Considerations
- Use strong passwords for SSH and Home Assistant.
- Enable HTTPS with a self-signed certificate.
- Isolate the Pi on a separate VLAN if possible.
- Regularly update software to patch vulnerabilities.
- Avoid exposing ports to the internet; use VPN for remote access.
This setup keeps data private, unlike commercial systems that send info to servers.
Troubleshooting Common Issues
- Pi not booting: Check power supply voltage; underpowered Pis freeze.
- Sensor not reading: Verify wiring and install missing Python libraries.
- Network problems: Ensure the Pi’s IP is static via router settings.
- Automations failing: Check logs in Home Assistant (Settings > System > Logs) for errors.
If stuck, search Home Assistant forums with your error message.
FAQ
What if I don’t have a Raspberry Pi?
You can use an old PC or even an ESP32 microcontroller for ultra-simple setups, but Pi offers more power for multiple devices.
How much electricity does this use?
A Raspberry Pi 4 idles at ~3W, similar to a phone charger. With sensors, expect under 5W total—negligible cost.
Is this compatible with existing smart devices?
Yes, Home Assistant supports over 2,000 integrations, including Alexa, Google Home, and Zigbee/Z-Wave devices via adapters.
Can I make it voice-controlled without internet?
Absolutely—use offline tools like Mycroft or Rhasspy on the Pi for privacy-focused voice commands.
What’s the biggest challenge for beginners?
Wiring hardware safely; start with low-voltage components and double-check connections to avoid shorts.
How do I back up my setup?
In Home Assistant, use the Supervisor > Backups feature to create and download snapshots regularly.