Learn how to make stunning boho-chic bracelets with our easy-to-follow video tutorial! This guide will walk you through the process step by step, perfect for beginners and experienced crafters alike. Whether you’re looking for a fun DIY project or a unique gift idea, this is the perfect place to start.
Choosing Your Beads and Charms
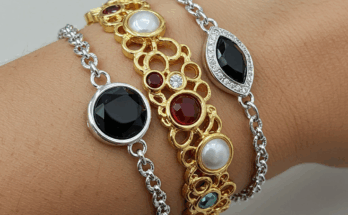
Selecting the right beads and charms is crucial for achieving that authentic boho-chic look. We recommend using a mix of natural materials, such as wood, stone, and bone beads. Don’t be afraid to experiment with different colors and textures! You can find a wide variety of beads at your local craft store or online at retailers like Etsy or Amazon. Remember, the more unique your selection, the more unique your bracelet will be!
Essential Tools and Materials
Before you begin, gather your essential tools and materials. You’ll need strong, flexible string or cord (we recommend using waxed cotton cord for durability), a pair of scissors, and of course, your chosen beads and charms. Consider using beading needles for easier stringing, especially with smaller beads. You can find all these items at your local craft store or online.
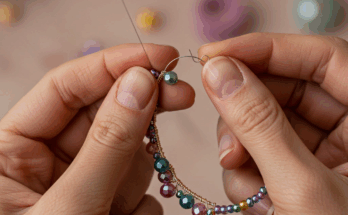
Creating the Basic Bracelet Structure
Start by measuring your wrist to determine the desired bracelet length. Then, cut a length of cord twice as long to accommodate knots and secure the bracelet. We’ll show you several different knotting techniques in the video, from simple overhand knots to more decorative options. Learning basic knotting techniques will allow you to create more complex designs in the future.
Adding Beads and Charms
Once you have your basic cord structure, it’s time to get creative! Add beads and charms strategically to achieve a balanced and visually appealing design. Experiment with different bead sizes, colors, and textures. Don’t be afraid to mix and match! The video tutorial demonstrates a few different beading patterns that you can follow, or use them as inspiration to design your own.
Securing the Bracelet
Once you’re happy with your bead and charm arrangement, it’s time to secure the ends of your bracelet. We’ll guide you through several methods in the video tutorial, including using decorative knots or crimps. These techniques will ensure your bracelet is durable and won’t easily come undone. This is crucial for the longevity of your beautiful handmade creation!
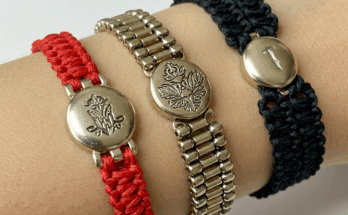
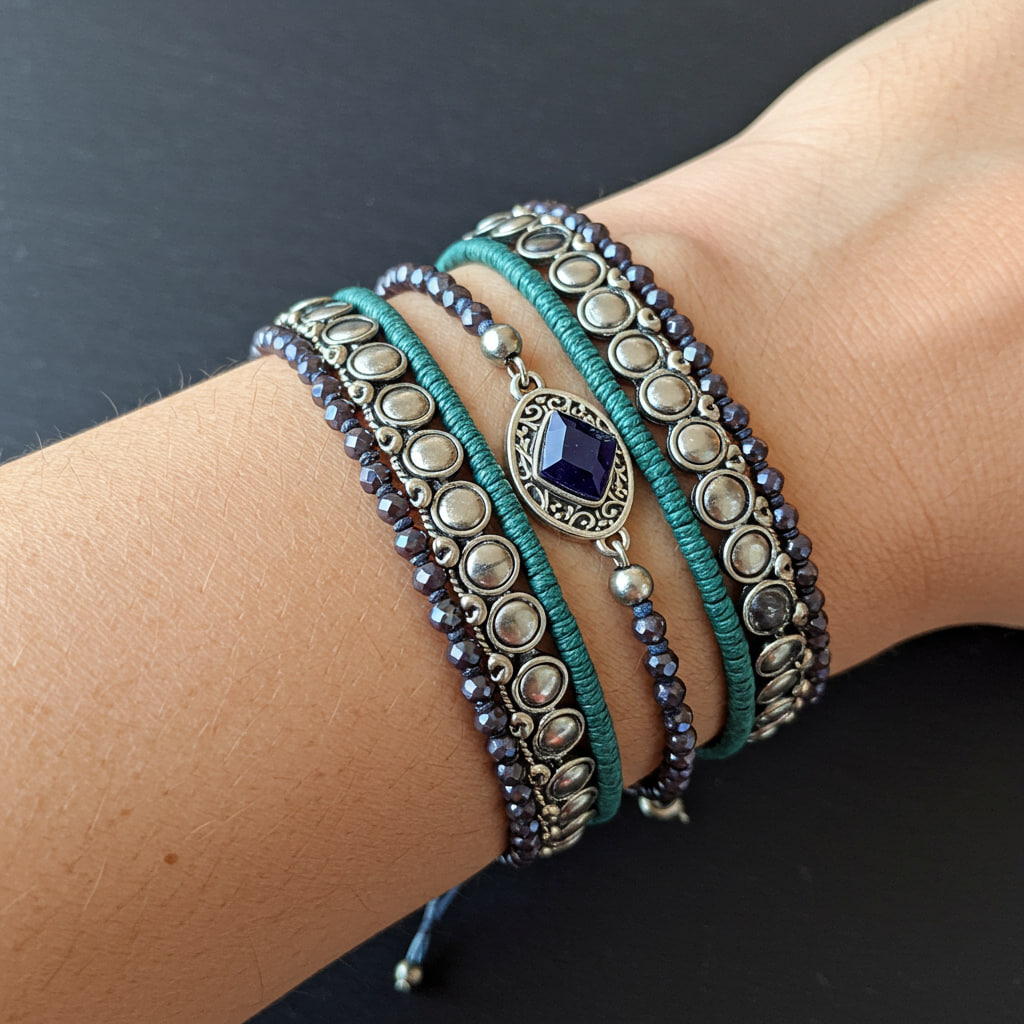
Finishing Touches and Personalization
Add a personalized touch by incorporating elements that reflect your style. Consider adding small pendants or charms that have special meaning to you. You can also explore different cord colors to complement your chosen beads and charms. Learn about different cord types to find the perfect one for your next project!
Styling Your Boho-Chic Bracelet
Now that your bracelet is complete, style it with confidence! Boho-chic bracelets look amazing layered with other bracelets or worn alone. Experiment with different styles to find what suits you best! Remember, personal style is key.
We hope you enjoyed this tutorial. Creating your own boho-chic bracelet is a rewarding experience, and with a little practice, you’ll be making stunning pieces in no time!
Frequently Asked Questions
What type of cord is best for boho bracelets? Waxed cotton cord is a popular choice due to its durability and ease of use.
Where can I find unique beads and charms? Etsy, Amazon, and local craft stores are great places to find a wide variety of beads and charms.
How do I prevent my bracelet from unraveling? Secure knots and using crimps are great ways to ensure your bracelet remains intact.
Can I make this bracelet without a video tutorial? The steps are easy to follow, but the video provides visual guidance, making it easier for beginners.
What if I run out of beads mid-project? Don’t worry! You can always add beads later, or adjust your design to incorporate what you have.