Embark on a creative journey with this beginner-friendly guide to bracelet crafting! Learn the basics and transform simple materials into stunning handmade jewelry.
Choosing Your Materials
Before you start, gather your supplies. You’ll need beads (consider exploring different types like glass beads, seed beads, or wooden beads), stringing material (elastic cord, jewellery wire, or leather cord are popular choices), and possibly clasps or other findings depending on your design. You can find many supplies at your local craft store or online retailers like Etsy or Amazon.

Essential Tools
While you don’t need a lot of tools, having the right ones will make your crafting experience much easier. You’ll likely need scissors, potentially some pliers (if using wire or clasps), and possibly a measuring tape for precise designs. Learn more about choosing the right tools in our comprehensive guide.
Basic Knotting Techniques
Mastering basic knots is fundamental. The simple knot is a great starting point, and learning the surgeon’s knot ensures durability. Practice tying these knots until you feel confident. Check out our tutorial on different knotting techniques for more advanced options.
Creating Simple Beaded Bracelets
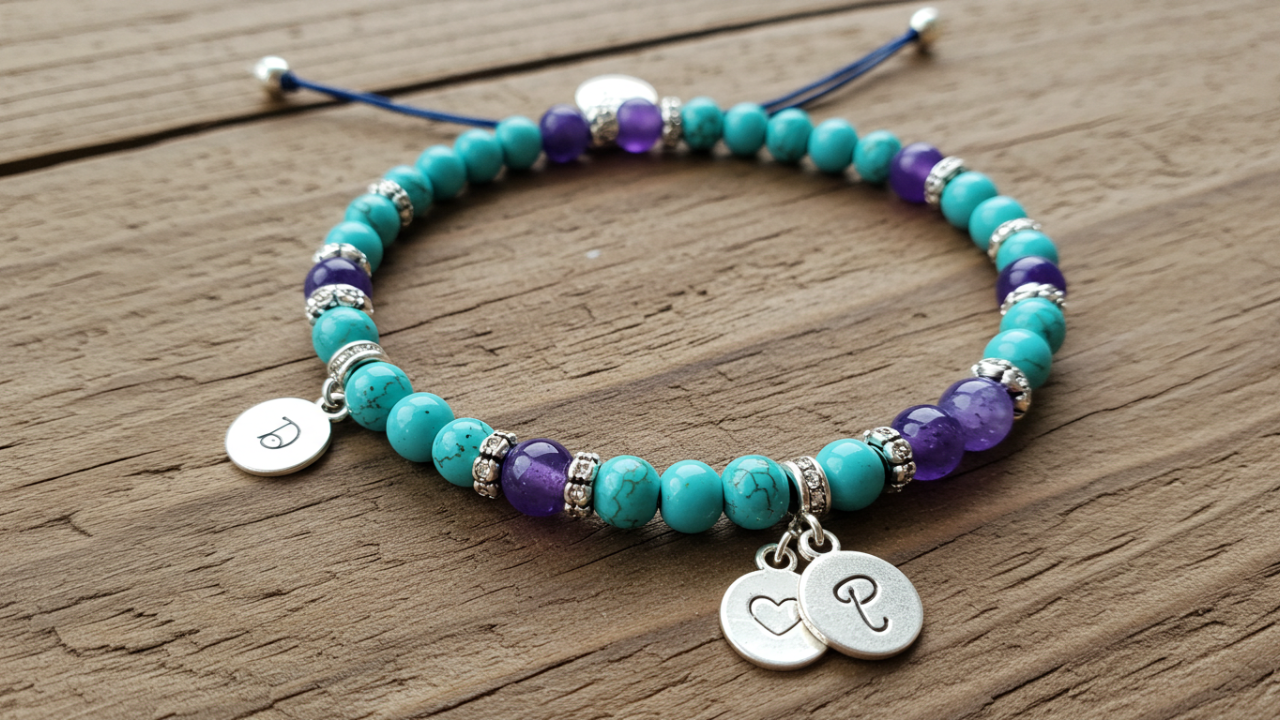
Start with a straightforward design. String your beads onto your chosen cord, keeping a consistent spacing. Once you’ve added all your beads, secure the ends with your chosen knotting method. Explore different bead patterns and arrangements to personalize your bracelet.
Working with Wire
Wire provides a more structured look, allowing for intricate designs. Start with a simple wire-wrapped bracelet. Learn how to use your pliers effectively to create loops and secure your beads. Refer to our guide on working with different types of wire for more advanced techniques.
Adding Clasps and Findings
Adding a clasp makes your bracelet more wearable and secure. There are many clasp types available; choose one that suits your design and skill level. Learn how to attach clasps securely to your bracelet ends. This will ensure longevity and prevent your bracelet from falling apart.
Finishing Touches and Presentation
Once your bracelet is complete, inspect it for any loose beads or knots. Consider adding decorative elements like charms or pendants. Finally, present your finished piece nicely – perhaps in a small gift bag or jewelry box.
Beyond the Basics
Once you’ve mastered the basics, explore more complex techniques like using different bead shapes, incorporating wire work, or even learning to make your own beads. The possibilities are endless!
This guide has given you a solid foundation in bracelet crafting. Keep practicing and experimenting, and soon you’ll be designing and creating stunning bracelets with confidence.
Frequently Asked Questions
What type of string is best for beginners? Elastic cord is a great choice for beginners because it’s easy to work with and doesn’t require clasps.
How do I prevent my beads from slipping? Use strong knots and consider using a bead stopper or crimp beads to secure your design.
Where can I find more advanced techniques? There are many online tutorials and courses available, as well as craft books that cover advanced bracelet-making techniques.
What if I run out of beads mid-project? It’s always a good idea to have extra beads on hand to avoid interrupting your workflow. Many online retailers offer convenient and fast shipping.
Can I sell the bracelets I make? Absolutely! Once you’ve developed your skills and have a collection of unique bracelets, consider selling them on platforms like Etsy or at local craft fairs.