Learning to knot bracelets can be a fun and rewarding experience! This tutorial will guide you through the process, step-by-step, with the help of our video. Whether you’re a complete beginner or looking to expand your knotting skills, you’ll find this guide helpful. Let’s get started!
Choosing Your Materials
Before you begin, gather your materials. You’ll need strong cord or string in your desired colors, scissors, and optionally, some tape to secure your work. The type of cord you choose will impact the final look and feel of your bracelet. For more intricate knots, a thinner cord works best. For beginners, a slightly thicker cord might be easier to manage. Learn more about selecting the perfect cord for your project.
Basic Knotting Techniques
There are many types of knots used in bracelet making. We’ll focus on a few fundamental ones in this tutorial, starting with the basic overhand knot. Mastering these basic knots will allow you to create a wide variety of patterns. This external resource offers a visual guide to different types of knots. We’ll cover more advanced techniques in our advanced knotting section.
Creating the Foundation
Once you’ve chosen your cord and understood the basic knots, let’s create the foundation for your bracelet. This usually involves making a starting knot that will be secure and prevent your bracelet from unraveling. This step is crucial for the overall strength and durability of your finished product.
Following the Video Tutorial
Our video tutorial will walk you through each step visually, making it easy to follow along, even if you’re new to knotting. Pay close attention to the hand positioning and the tension on the cords to achieve neat and consistent knots. Watch the video tutorial now!
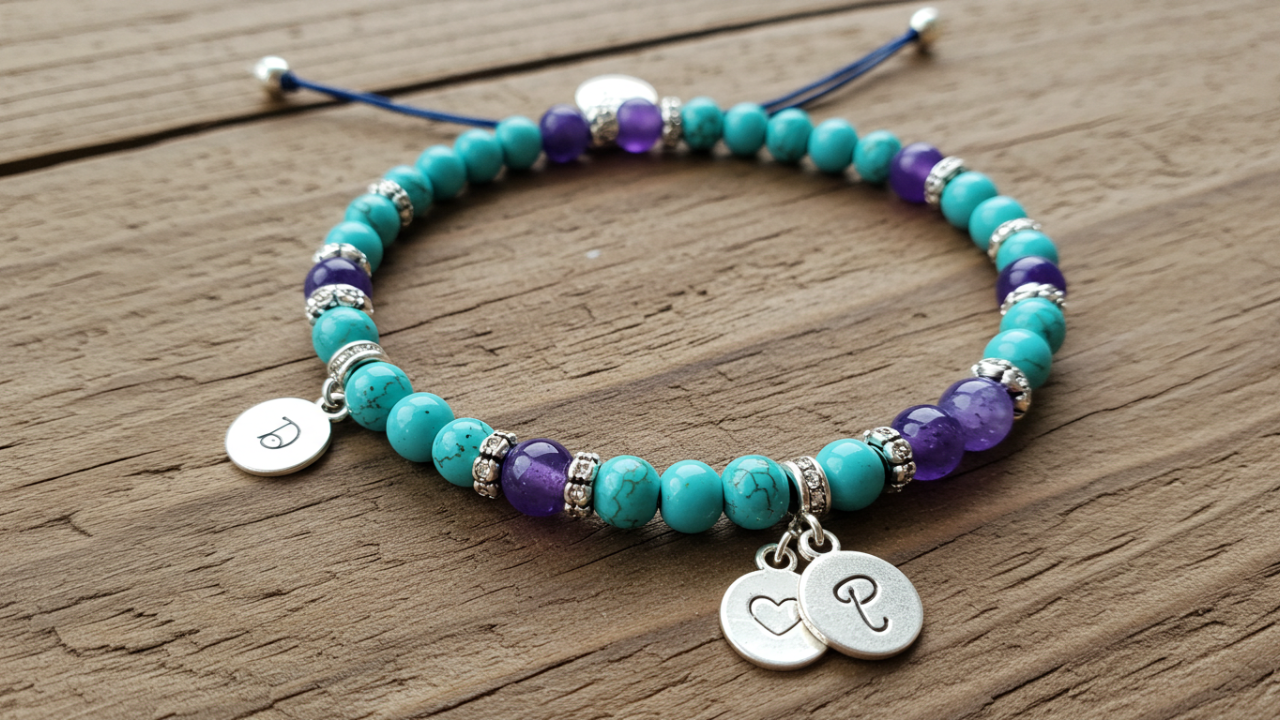
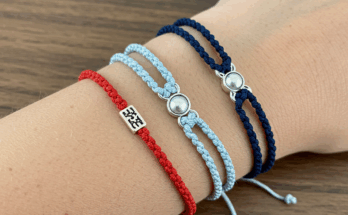
Adding Beads or Charms
Once you’ve mastered the basic knots, you can add beads or charms to personalize your bracelet. This allows for endless creative possibilities. Be mindful of the size and weight of the beads; they shouldn’t be too heavy for the cord you are using. Experiment with different types of beads and charms to create unique designs!
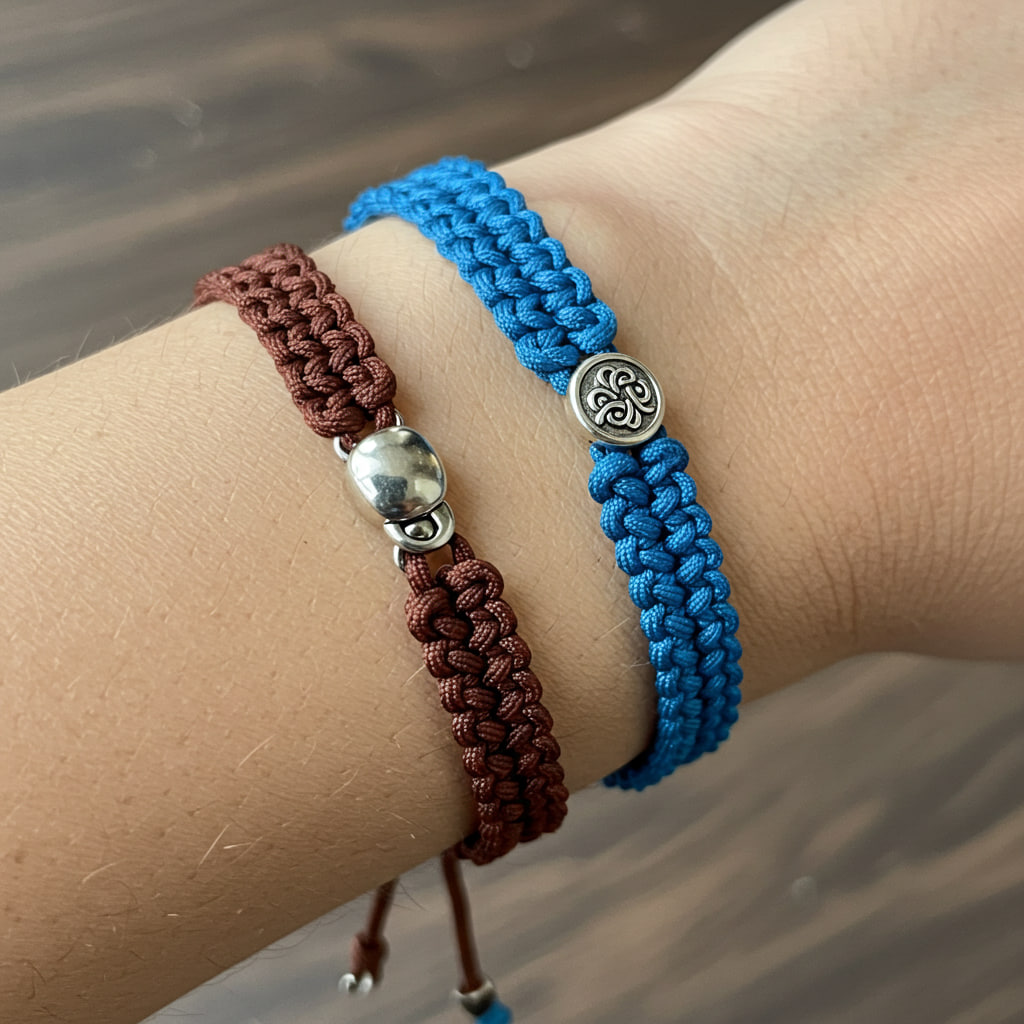
Finishing the Bracelet
After you’ve reached your desired bracelet length, you’ll need to secure the end. This usually involves tying a strong finishing knot and possibly trimming any excess cord. Make sure the knot is tight and secure to prevent unraveling. Consider using a lighter to gently melt the ends of some cords to prevent fraying. Check out this blog post for more finishing tips.
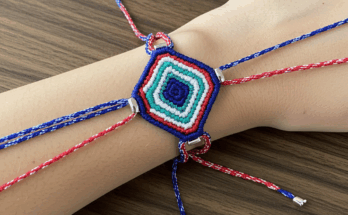
Variations and Patterns
Once you’ve mastered the basics, you can explore a wide variety of knotting patterns. From simple to intricate, the possibilities are endless. You can find many patterns online. Here’s another great resource to inspire your creativity. Experiment with different colors and materials to create your own unique designs!
Conclusion
With practice and patience, you’ll be creating beautiful knotted bracelets in no time! Remember to start with the basics, watch the video carefully, and don’t be afraid to experiment. Have fun expressing your creativity!
Frequently Asked Questions
What type of cord is best for beginners? A slightly thicker cord is easier to work with for beginners, as it provides more grip and visibility.
How do I prevent my bracelet from unraveling? Make sure your starting and finishing knots are tight and secure. You may also consider using a knotting aid or glue.
Where can I find more knotting patterns? There are countless resources online, including blogs, websites, and YouTube channels dedicated to knotting and macrame.
Can I use any type of beads? Yes, but make sure the beads are not too heavy for the cord you are using, and that the holes are large enough to accommodate the cord.
What should I do if I make a mistake? Don’t worry! Mistakes happen. Carefully untie the knot and try again. With practice, you’ll become more proficient.