Learn how to make a stylish Chevron bracelet with this easy-to-follow tutorial video! This guide will walk you through each step, from gathering your materials to finishing touches, ensuring you create a beautiful piece of jewelry.
Gathering Your Supplies
Before you begin, gather all the necessary materials. You’ll need embroidery floss in your chosen colors, strong scissors, and tape. A helpful tip is to use a bracelet-making board to keep your threads organized, but it’s not essential for beginners. You can find high-quality embroidery floss at this online retailer.
Creating the Chevron Pattern
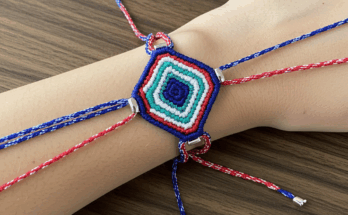
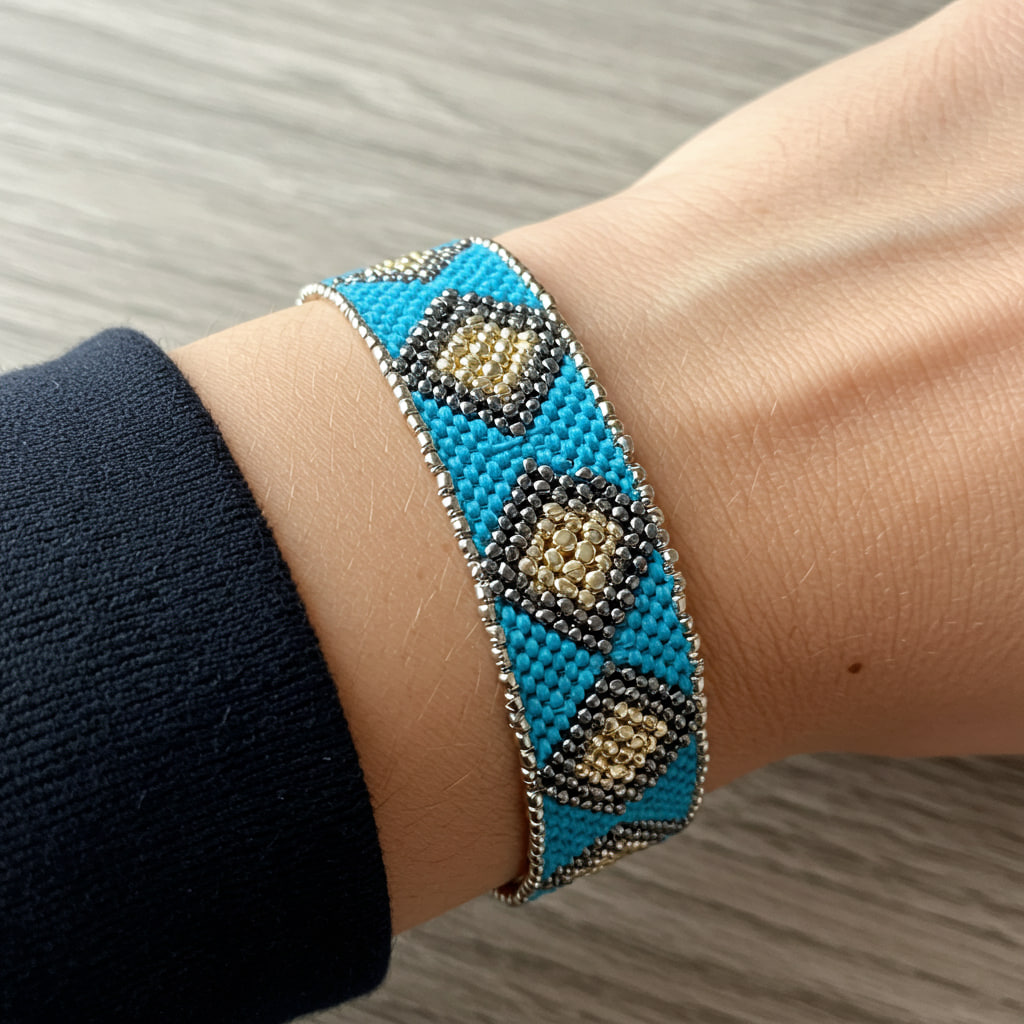
The chevron pattern is created by weaving the embroidery floss in a specific way. The video clearly demonstrates the technique, but it involves alternating colors and creating a zig-zag effect. Take your time and watch carefully, especially the beginning steps. For a more detailed explanation of this stitch pattern, check out our embroidery floss guide.
Securing Your Starting Knot
Creating a secure starting knot is essential to prevent the bracelet from unraveling. The video shows a simple and effective knotting method; ensure you follow this step precisely for a durable bracelet. A tutorial on various knot types is also available on our site for further learning.
Adding Beads (Optional)
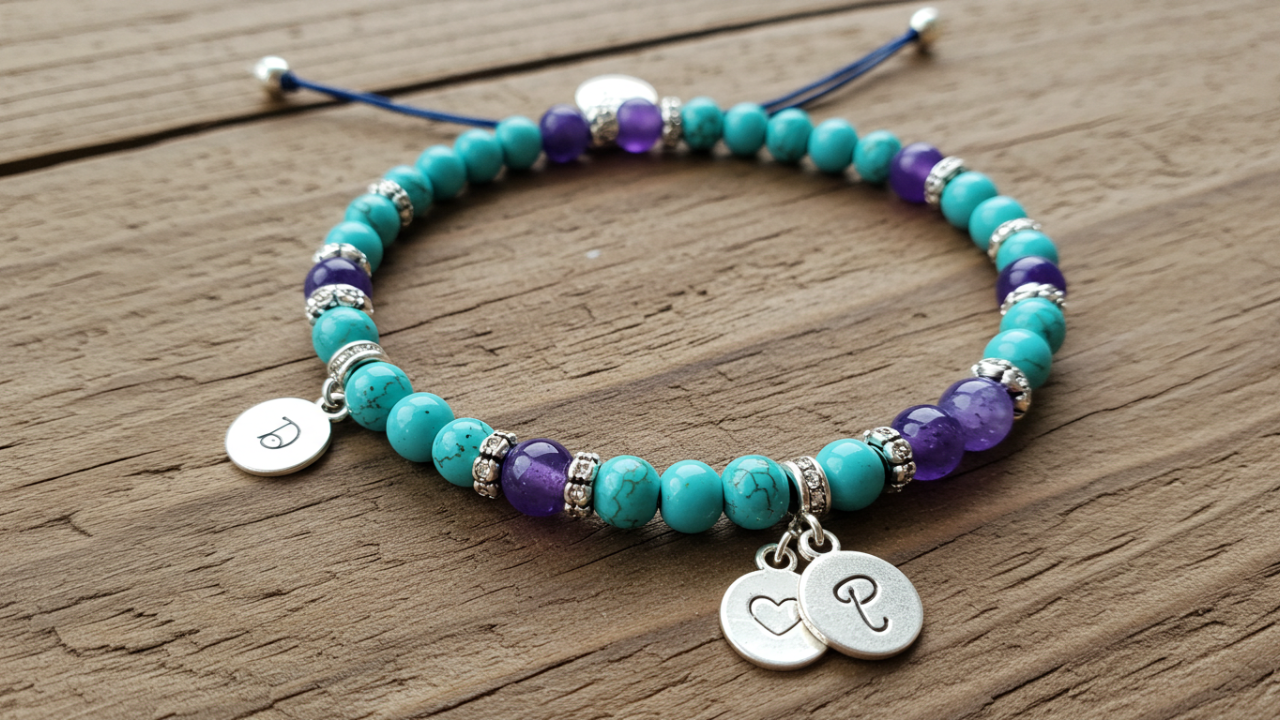
Want to add some extra flair? This tutorial also includes an optional section on adding beads to your chevron bracelet. This is a great way to personalize your design! Explore different bead types and sizes to achieve the look you desire. Find unique beads at this bead supplier.
Working with Multiple Colors
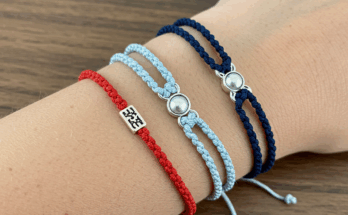
If you’re using multiple colors, the video offers helpful advice on managing your threads and keeping the pattern consistent. Color transitions are key to creating a vibrant chevron design. If you need color inspiration, look at our color palette suggestions.
Finishing Your Bracelet
Once you’ve reached your desired length, securing the final knot is important. The video demonstrates a secure method to prevent the bracelet from fraying. Always trim any excess floss neatly for a professional finish. You can find more tips and tricks on finishing jewelry at this crafting blog.
Adding Clasps or Ties
The tutorial shows several different ways to add a clasp or ties to your bracelet, allowing you to customize the finishing touch based on your preference and the type of clasp you have. Experiment with different styles to find the best fit for your bracelet!
Conclusion
Congratulations! You’ve successfully created a beautiful chevron bracelet. Remember to practice and experiment with different colors and patterns to create your own unique designs. Share your creations with us on social media!
Frequently Asked Questions
What type of embroidery floss is best for this project? Six-strand embroidery floss works best for creating a durable and visually appealing chevron bracelet.
How long does it take to make the bracelet? The time it takes depends on your experience and the bracelet’s length. Expect it to take anywhere from 30 minutes to an hour or more for a beginner.
Can I use different types of beads? Yes, you can experiment with various beads! Glass beads, seed beads, and even small metal beads can add visual interest.
What if I make a mistake? Don’t worry! Mistakes happen. Carefully unravel the incorrect section and start again. It’s a great learning opportunity.
Where can I find more bracelet making tutorials? Check out our website for a collection of other tutorials on making various types of bracelets!