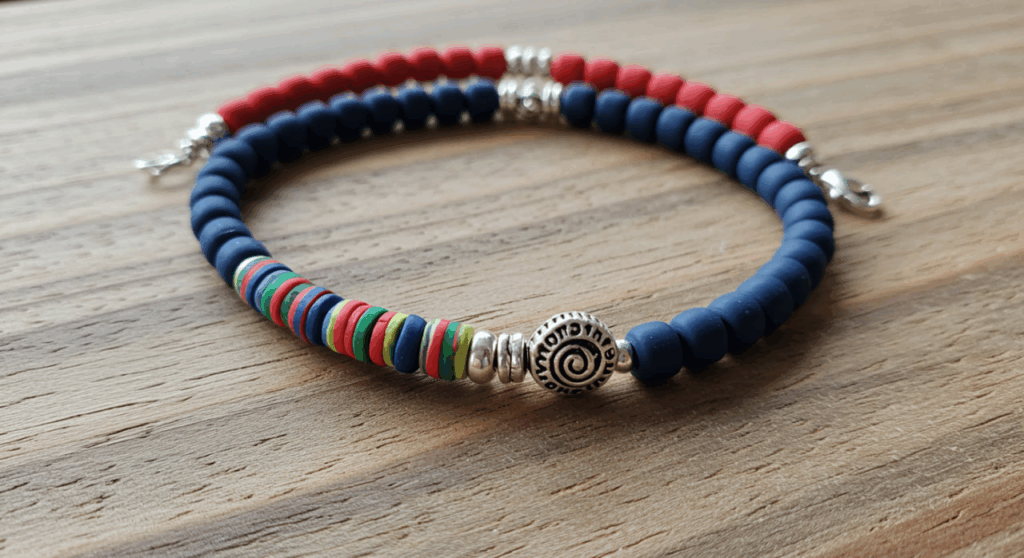
Getting Started with Clay Bead Bracelets
Clay beads have exploded in popularity, offering a vibrant and versatile medium for jewelry making. Their unique texture and the ability to customize colors make them perfect for creating one-of-a-kind bracelets. This guide dives into the world of clay bead bracelet making, exploring techniques and resources to help you get started.
Choosing Your Clay
The type of clay you choose significantly impacts the final look and feel of your beads. Polymer clay, like Fimo or Sculpey, is a popular choice due to its durability and versatility. Learn more about different polymer clay types to find the best fit for your project. Air-dry clay is another option, but requires more careful handling and curing. Consider the best practices for working with air-dry clay to avoid cracking or warping.
Shaping Your Beads
Once you’ve chosen your clay, it’s time to shape your beads! You can use a variety of tools, from simple hand-rolling techniques to specialized extruders. Many tutorials demonstrate different shaping methods; check out this excellent YouTube channel dedicated to clay bead making. Remember to ensure your beads are uniformly sized for a professional finish. Discover advanced bead shaping techniques here to elevate your designs.

Baking and Finishing
After shaping, your clay beads need to be baked or cured according to the manufacturer’s instructions. Proper baking is crucial for achieving durable and long-lasting beads. For polymer clay, an oven is needed; be sure to follow safety guidelines and consult this safety guide. Once baked, you can add finishing touches, such as sanding, polishing, or adding metallic accents, to enhance their appearance.
Assembling Your Bracelet
With your perfectly baked beads ready, it’s time to assemble your bracelet! You can choose from various stringing materials, such as elastic cord, beading wire, or even leather. Consider the weight of your beads and the overall style of your bracelet when choosing your stringing material. Learn different bracelet-making techniques to find a method that best suits your skills and preferences.
Adding Personal Touches
The beauty of handmade jewelry is the ability to personalize it. Add charms, spacers, or other embellishments to create a unique bracelet that reflects your style. Experiment with different color combinations and textures to develop your signature aesthetic.
Conclusion
Creating clay bead bracelets is a rewarding and creative process. By following these steps and exploring different techniques, you can craft beautiful and personalized jewelry. Don’t be afraid to experiment and have fun!
Frequently Asked Questions
What type of clay is best for beginners? Polymer clay is generally recommended for beginners due to its ease of use and durability.
How do I prevent my clay beads from cracking? Ensure your clay is properly conditioned, bake at the correct temperature, and avoid rapid temperature changes.
What tools do I need to make clay beads? You’ll need clay, a work surface, shaping tools (like rolling pins or extruders), and an oven (for polymer clay).
Where can I find inspiration for clay bead designs? Explore Pinterest, Instagram, and YouTube for a wealth of inspiration!
How long does it take to make a clay bead bracelet? The time varies greatly depending on the complexity of the design and your experience level.


