Creating your own bracelets at home is a rewarding hobby that lets you express creativity while making personalized accessories or gifts. If you’re new to crafting, don’t worry—this guide focuses on simple techniques using everyday materials. We’ll cover two beginner-friendly projects: a stretchy beaded bracelet and a basic woven friendship bracelet. These methods require no advanced tools and can be completed in under an hour each. By following these steps, you’ll gain confidence to experiment with colors, patterns, and styles.
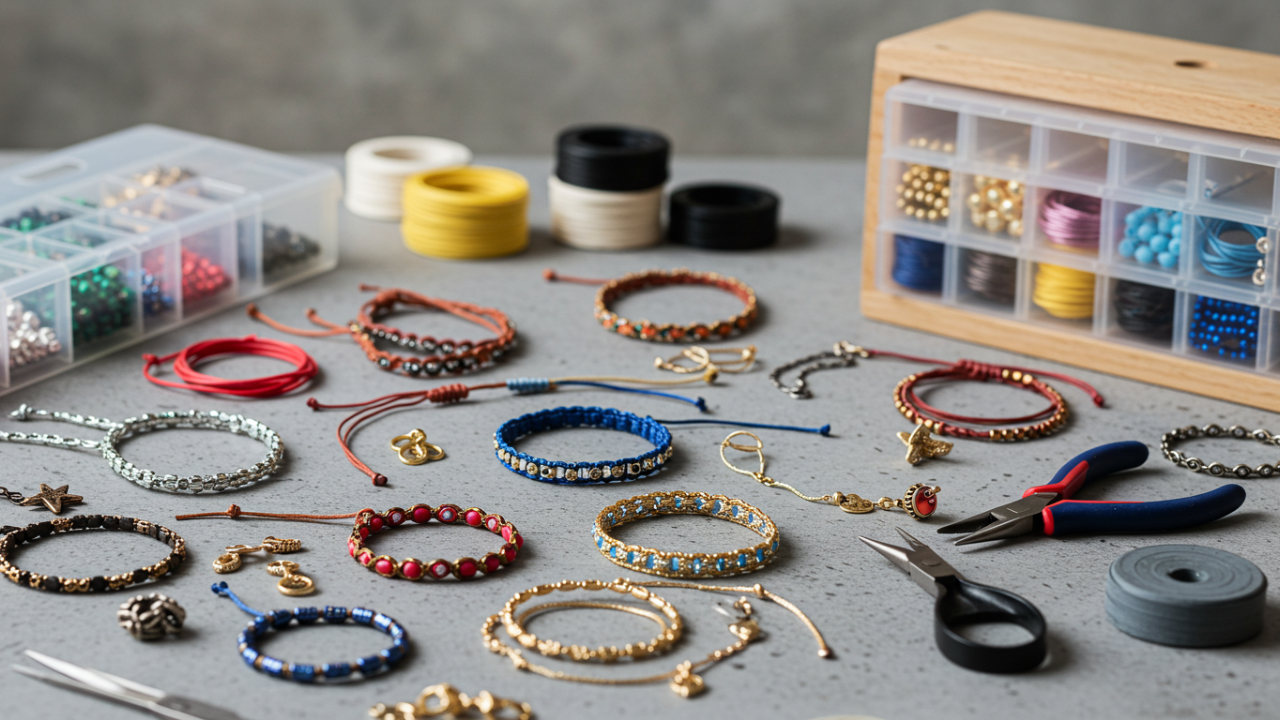
Materials Needed
Before starting, gather these basic supplies. Most are affordable and available at craft stores or online.
- For the stretchy beaded bracelet:
- Elastic cord (0.5–1mm thick, about 12 inches long)
- Assorted beads (glass, wooden, or plastic; 20–30 pieces in various sizes and colors)
- Scissors
- Optional: Crimp beads or a small clasp for extra security
- For the woven friendship bracelet:
- Embroidery floss or cotton thread (3–4 strands in different colors, each about 24 inches long)
- Tape or a safety pin to secure the threads
- Scissors
- General tools for both: A flat work surface, measuring tape (for wrist sizing), and bead trays to organize small pieces.
Tip: Start with inexpensive materials to practice without pressure. Measure your wrist loosely (add 1 inch for comfort) to determine bracelet length.
Step-by-Step Tutorials
We’ll break down each project into clear, numbered steps. Work in a well-lit area and take breaks if your hands tire.
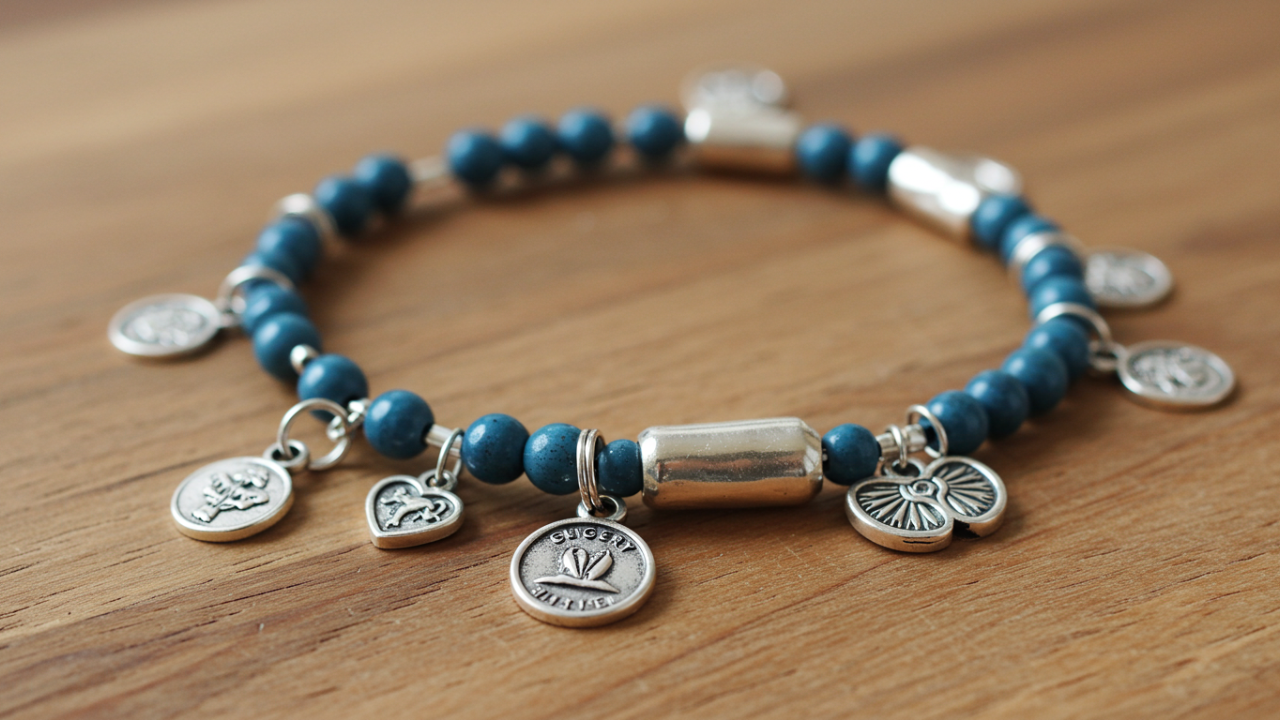
Stretchy Beaded Bracelet
This elastic design is forgiving for beginners, as it stretches to fit without a clasp. It’s ideal for mixing bead shapes for a custom look.
- Prepare the cord: Cut a 10–12 inch piece of elastic cord. Tie a loose knot at one end to prevent beads from slipping off.
- String the beads: Slide beads onto the cord in your desired pattern. Alternate colors or sizes for interest—try a repeating sequence like blue, white, blue. Aim for 6–7 inches of beaded length to fit an average wrist.
- Check the fit: Wrap the beaded cord around your wrist. Add or remove beads as needed, leaving about 1 inch of bare cord on each end.
- Secure the ends: Untie the temporary knot. Bring both ends together and tie a double knot tightly. For durability, add a drop of clear glue or use a crimp bead: slide it on, loop the cord through, and flatten with pliers.
- Finish up: Trim excess cord close to the knot. Let any glue dry for 10 minutes. Your bracelet is ready to wear!
Variations: Use themed beads like letters for names or charms for added personality. This project takes 15–20 minutes.
Basic Woven Friendship Bracelet
Inspired by classic patterns, this uses simple knots to create a striped design. It’s great for practicing hand-eye coordination.
- Set up the threads: Cut three 24-inch strands of floss in contrasting colors (e.g., red, yellow, blue). Align them and tie a knot at one end, leaving a 2-inch tail. Secure the knotted end to your table with tape.
- Start knotting: Separate the strands. Take the leftmost strand (red) and cross it over the middle one (yellow), then under the right one (blue), pulling tight to form a knot. Repeat this “forward knot” 5–10 times with the same strand for a solid stripe.
- Switch colors: Now use the new leftmost strand and repeat the knotting process. Alternate colors to create stripes or simple chevrons by knotting in both directions.
- Build length: Continue until the woven section measures your wrist size (about 6 inches). Keep tension even to avoid lumps.
- Tie off: Knot all strands together at the end. Braid the remaining tails into ties for an adjustable fit, or add beads to the ends.
- Trim and wear: Cut excess threads. Tie the bracelet around your wrist using the braided ends.
This takes 30–45 minutes. Experiment with more strands for complex patterns once comfortable.
Tips for Beginners
- Common mistakes to avoid: Over-tightening knots in woven bracelets can cause curling—keep even pressure. For beaded ones, test elasticity before final tying to prevent breakage.
- Customization ideas: Match colors to outfits or seasons. Add pendants for focal points.
- Safety notes: Use non-toxic beads if making for kids. Store supplies away from pets.
- Scaling up: Once mastered, try layering multiple bracelets or selling at craft fairs—these make thoughtful, low-cost gifts.
- Troubleshooting: If beads slip, use thicker cord. For woven projects, practice on scrap thread first.
By starting small, you’ll build skills quickly. These tutorials emphasize simplicity, so feel free to adapt them to your style.
FAQ
What if I don’t have elastic cord?
Substitute with thin wire or fishing line, but add a clasp for closure. Elastic is easiest for beginners as it’s forgiving.
How do I fix a bracelet that’s too loose?
For stretchy ones, untie and remove beads; for woven, add extra knots or shorten ties. Always measure twice before finishing.
Can kids do these projects?
Yes, with supervision. The beaded version suits ages 8+, while woven needs finer motor skills (ages 10+). Use larger beads for little hands.
Where can I find free patterns for advanced designs?
Search online craft communities or apps for inspiration, but start with basics here to build confidence.
How long do homemade bracelets last?
With quality materials, 6–12 months of regular wear. Reinforce knots with glue for longevity.
What beads are best for sensitive skin?
Opt for hypoallergenic options like wood, glass, or sterling silver. Avoid cheap metals that might irritate.