Introduction
Making a charm bracelet at home is a rewarding DIY project that lets you create personalized jewelry reflecting your style, memories, or interests. Whether you’re crafting one for yourself, a gift, or even to sell, this hands-on activity combines creativity with simple techniques. No advanced skills are required—just basic tools and materials you can find at craft stores or online. In this guide, we’ll walk through the process step by step, from gathering supplies to finishing touches, ensuring your bracelet is both beautiful and durable.
Materials and Tools Needed
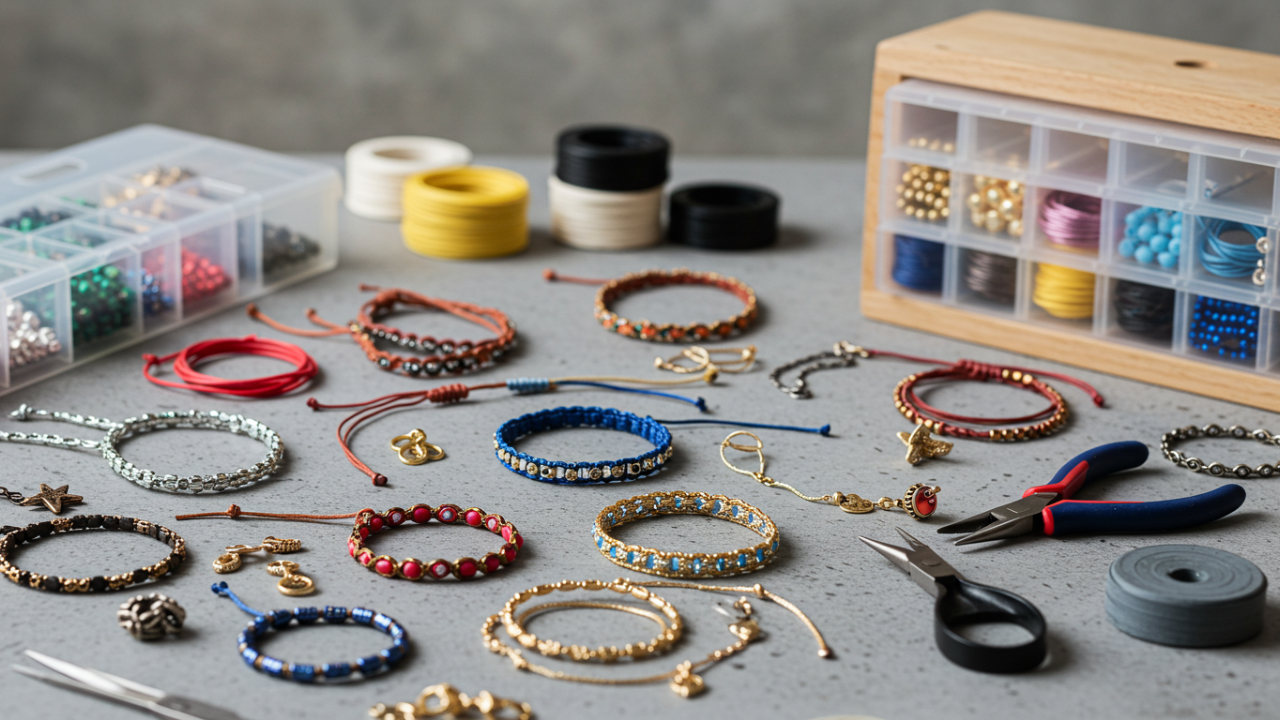
Before starting, assemble everything to avoid interruptions. Here’s a comprehensive list tailored for beginners:
Essential Materials
- Bracelet chain: Opt for a sturdy base like sterling silver, gold-plated, or leather cord. Aim for 7-8 inches to fit most wrists, plus extra for adjustments.
- Charms: These are the stars of your bracelet. Choose 5-10 small pendants, beads, or trinkets in themes like travel (e.g., mini airplanes), nature (leaves or flowers), or personal milestones (hearts or initials).
- Jump rings: Small metal loops (about 4-6mm) to attach charms to the chain. Get at least 20 in matching metal.
- Clasp: A lobster claw or toggle clasp for easy wear. Include a chain extender if you want adjustable length.
- Beads or spacers (optional): For adding color and separation between charms.
Tools Required
- Pliers: Two pairs—flat-nose for gripping and round-nose for bending. Needle-nose pliers work in a pinch.
- Wire cutters: To trim chain or excess wire.
- Measuring tape or ruler: For wrist sizing.
- Jewelry mat or towel: To prevent pieces from rolling away.
Budget tip: Start with affordable kits from hobby shops, which often bundle these items for under $20.
Step-by-Step Guide to Making Your Charm Bracelet
Follow these instructions sequentially for a professional-looking result. The entire process takes 30-60 minutes, depending on complexity.
Step 1: Measure and Prepare the Chain
Measure your wrist loosely with the tape—add 1-2 inches for comfort and charms. Use wire cutters to trim the chain to this length. If using a pre-made chain with links, count them for even spacing.
Step 2: Plan Your Design
Lay out the chain on your mat and arrange charms along it. Space them 1-2 inches apart to avoid overcrowding. Consider balance: Alternate sizes and colors for visual appeal. Sketch a quick diagram if needed to visualize the final look.
Step 3: Attach the Charms
For each charm:
- Open a jump ring by twisting it sideways with pliers (never pull apart, as it weakens the metal).
- Thread the ring through the charm’s loop and a link on the chain.
- Close the ring by twisting back, ensuring no gap remains. Repeat for all charms. If adding beads, slide them onto the chain between links.
Step 4: Add the Clasp
At one end of the chain, attach a jump ring and thread the clasp onto it before closing. On the other end, add a jump ring or chain extender for the clasp to hook into. Test the fit on your wrist—adjust by adding or removing links if it’s too loose or tight.
Step 5: Final Touches and Inspection
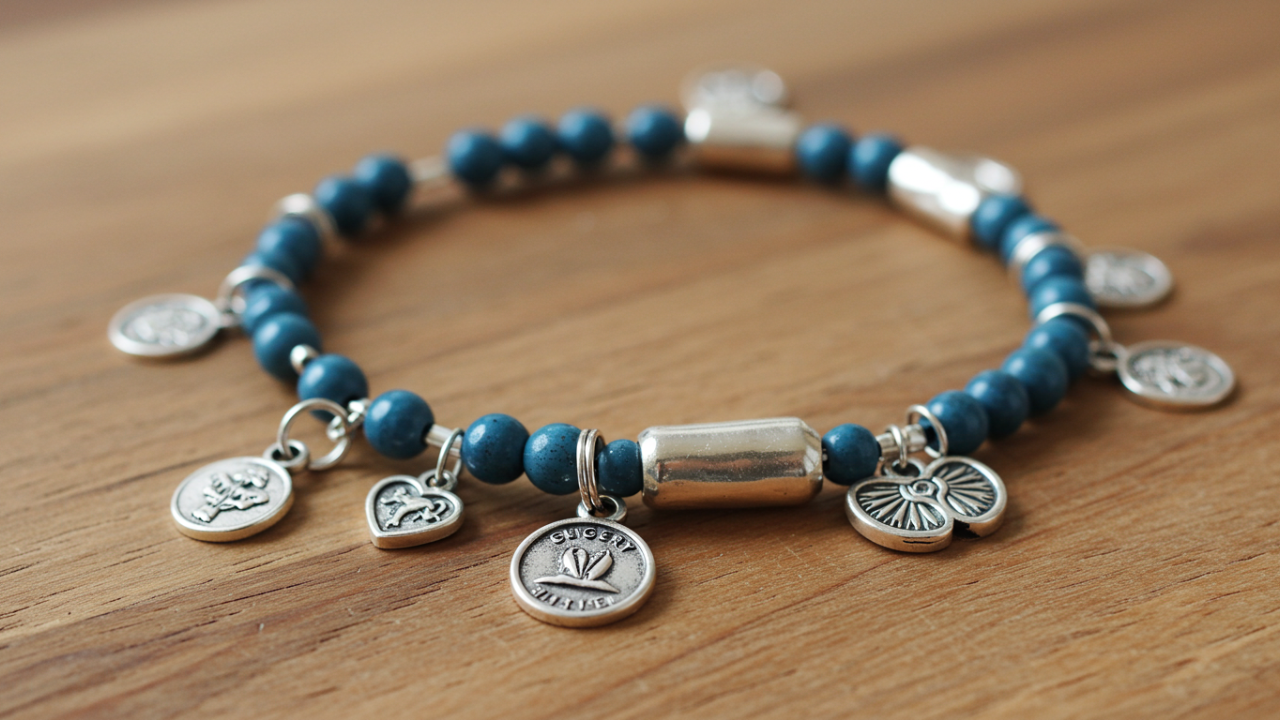
Gently tug each charm to check security. Polish with a soft cloth if using metal. For a custom twist, engrave initials on blanks or incorporate found objects like pressed flowers in resin charms.
Tips for Customization and Troubleshooting
- Theming Ideas: Create a “memory bracelet” with charms representing life events, or a “boho” style with feathers and gemstones. For kids, use colorful plastic charms for safety.
- Common Mistakes to Avoid: Overloading the bracelet can make it heavy; start simple. If jump rings keep opening, use soldered ones for permanence (requires a soldering iron—advanced users only).
- Eco-Friendly Options: Source recycled metal chains or upcycle old jewelry pieces to reduce waste.
- Storage and Care: Store in a jewelry box to prevent tangling. Clean with mild soap and water, avoiding harsh chemicals.
This project scales easily—experiment with multiple strands for layered looks or anklets.
FAQ
What if I can’t find specific charms?
Search thrift stores, online marketplaces like Etsy for handmade ones, or make your own from polymer clay baked in a home oven.
Do I need any special skills or experience?
No prior experience is necessary. The key is patience with small pieces; practice opening jump rings on scrap metal first.
How much does it cost to make a charm bracelet at home?
Basic versions cost $10-30, depending on materials. Splurging on quality silver can push it to $50+, but it’s still cheaper than buying pre-made.
Can I make this with children?
Yes, for ages 8+ with supervision. Use larger charms and skip sharp tools; focus on beading for safety.
What to do if the bracelet breaks?
Reattach loose charms with new jump rings. For chain repairs, link segments together using pliers.
How long does a homemade charm bracelet last?
With proper care, 1-5 years or more. Tarnish-resistant metals like stainless steel extend longevity.