Introduction
Learning how to make bracelets can be a fun and rewarding experience! This guide will walk you through various techniques, from simple knots to intricate patterns, so you can create beautiful bracelets for yourself or as gifts. Whether you’re a beginner or looking to expand your skills, you’ll find something helpful here. Let’s get started!
Choosing Your Materials
Selecting the right materials is crucial for a successful bracelet. You’ll need to consider the type of string or cord you want to use – this website has a great selection. Popular choices include embroidery floss, waxed cord, leather cord, and even paracord. You’ll also need beads, charms, or other embellishments to add your personal touch. Consider the overall style and look you are aiming for.
Basic Knotting Techniques
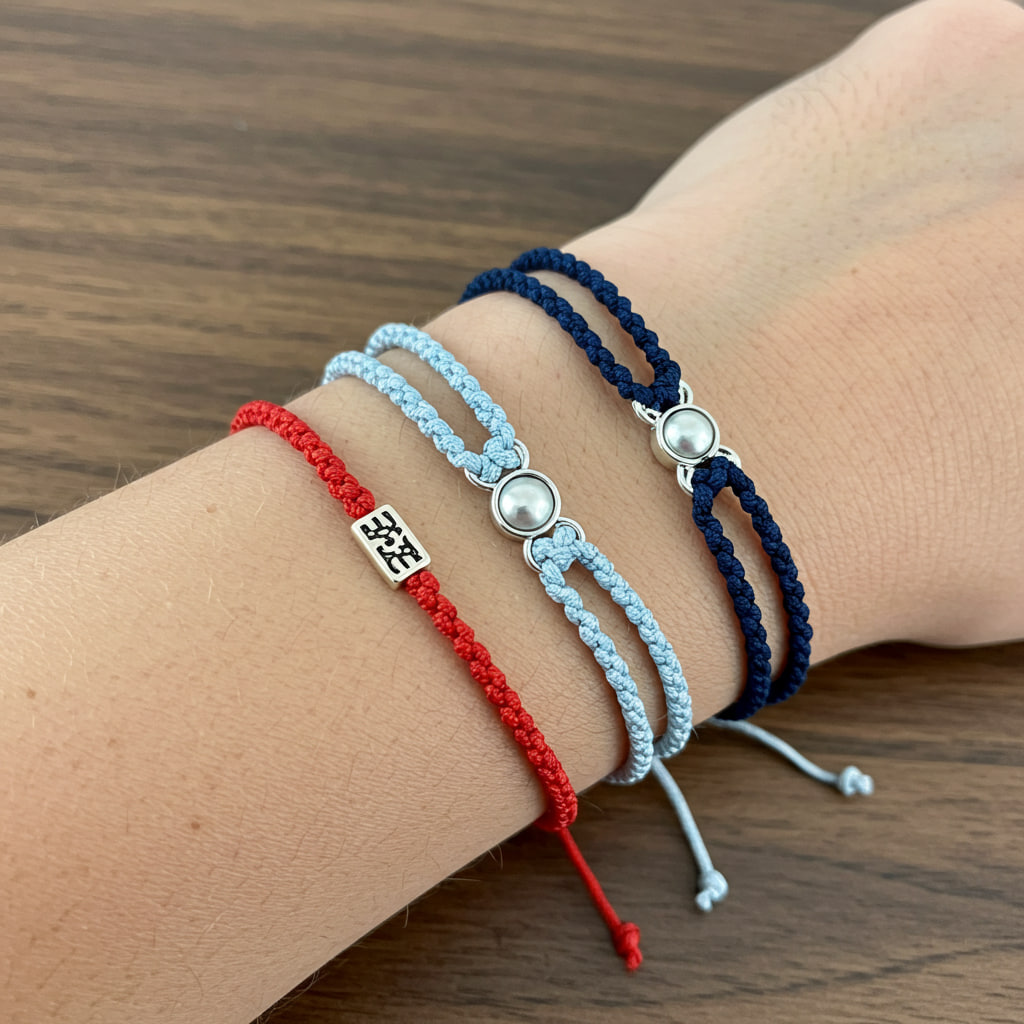
Mastering basic knots is fundamental. The square knot and the overhand knot are two essential knots for most bracelet styles. Practice these thoroughly; there are plenty of online tutorials available to guide you. Understanding these will allow you to create more complex patterns later on.
Creating a Simple Knotted Bracelet
Let’s make a simple bracelet using the square knot. Follow the steps outlined in this section to create a basic knotted bracelet. This is a great starting point to build confidence and understand the fundamentals before moving on to more advanced techniques. Remember to adjust the length of your cord to fit your wrist.
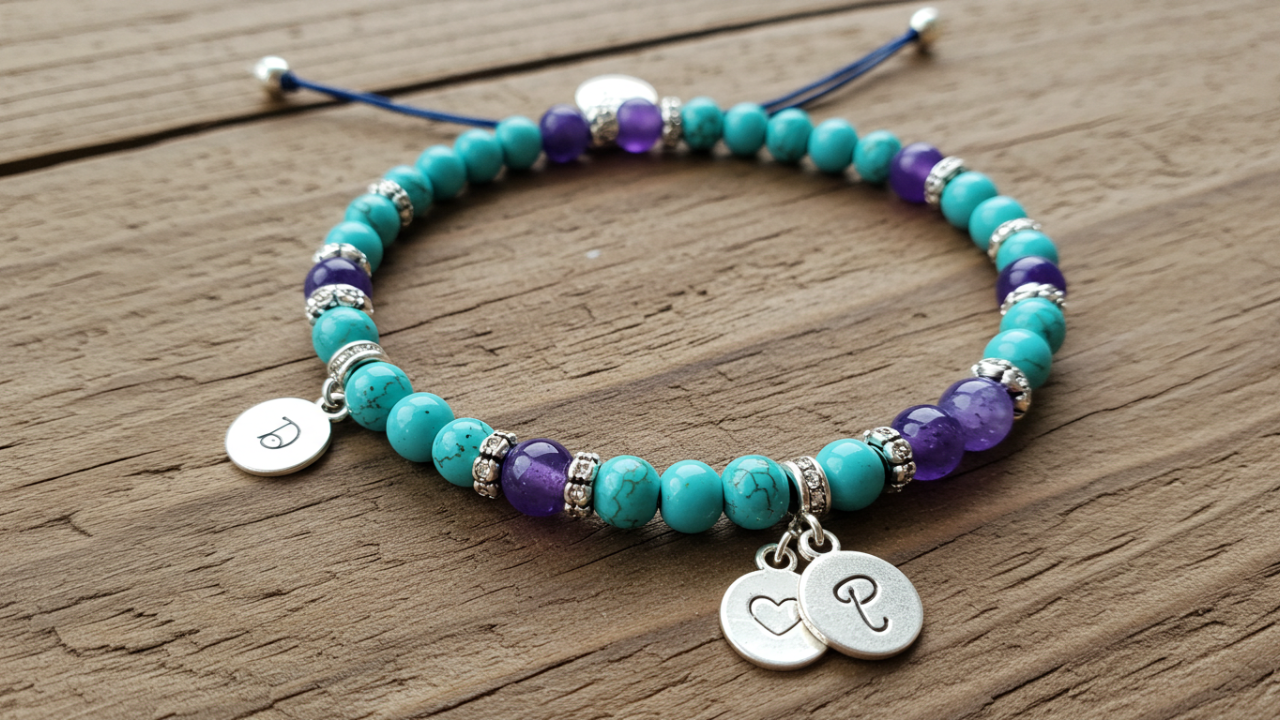
Working with Beads
Adding beads can elevate your bracelet designs. Explore different bead sizes, shapes, and materials. Experiment with incorporating beads of varying colors and textures to create visually interesting bracelets. Learn more about bead selection in this section.
Adding Charms and Embellishments
Charms add a personal touch and can be easily incorporated. Attach charms using jump rings or other suitable connectors. Don’t be afraid to experiment with different charm styles and themes to reflect your personality.
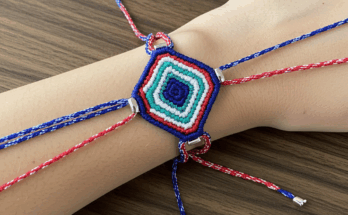
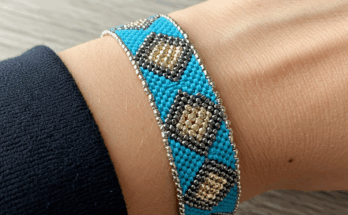
More Advanced Bracelet Patterns
Once you’ve mastered the basics, you can explore more complex patterns. There are countless patterns available online and in books. Don’t hesitate to search for inspiration – this blog has some stunning examples. Experiment with different techniques to develop your own unique style.
Finishing Touches and Securing Your Bracelet
Once you’ve completed your bracelet, securing the ends is crucial. Use appropriate knots or clasps to ensure your bracelet stays on your wrist and doesn’t unravel. Adding a final touch, like a small decorative knot or bead, can enhance the overall aesthetic.
Conclusion
Making bracelets is a relaxing and creative hobby. By following these steps and practicing regularly, you’ll be amazed at the beautiful and unique bracelets you can create. Don’t be afraid to experiment and explore your creativity!
Frequently Asked Questions
What type of string is best for beginners? Embroidery floss is a great starting point due to its affordability and ease of use.
How do I adjust the bracelet size? Simply adjust the length of the cord before you secure the ends.
Where can I find more advanced patterns? You can find many patterns online or in craft books. Check out this resource for inspiration.
What tools do I need? You’ll mainly need scissors and potentially pliers for certain clasps or connectors.
Can I use different materials together? Absolutely! Experimenting with various materials is part of the fun of bracelet making.