Making bracelets is a fun and creative activity, and with this tutorial, you’ll learn how to make adorable kidcore bracelets perfect for sharing with friends or adding to your collection! Kidcore is all about bright colors, cute characters, and playful designs, so let’s get started on making some fun bracelets that reflect this aesthetic.
Gathering Your Supplies
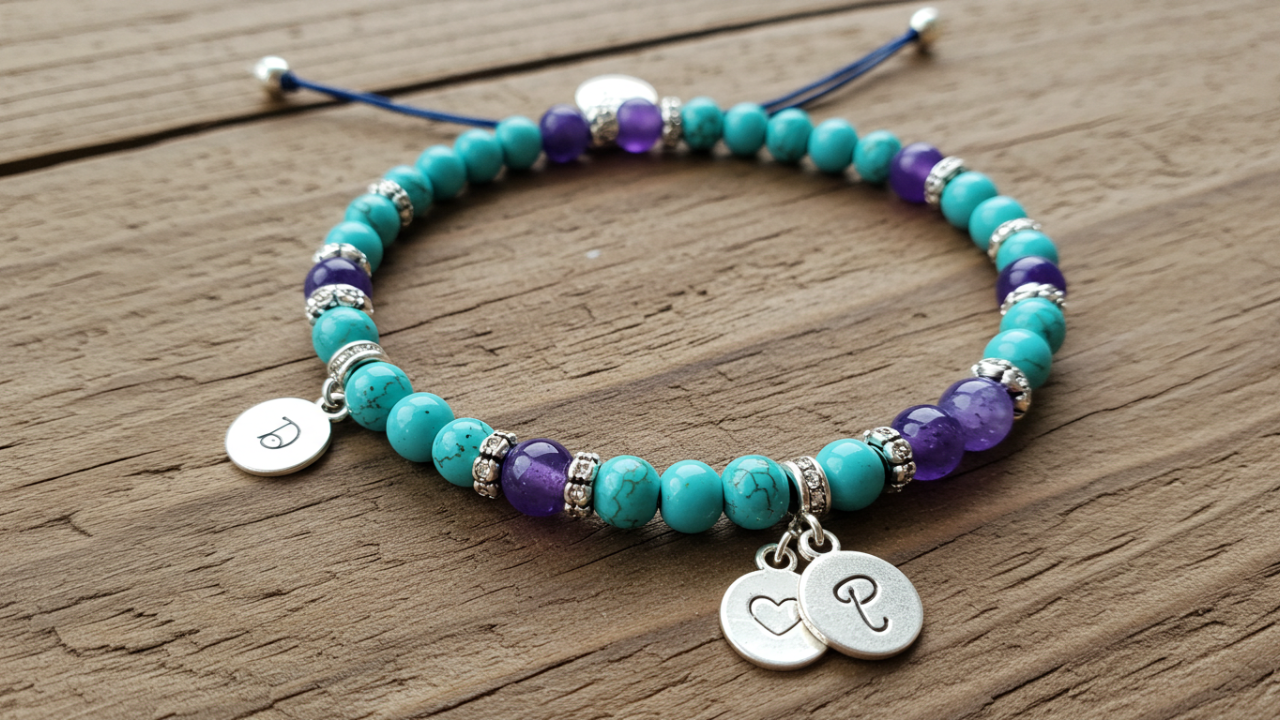
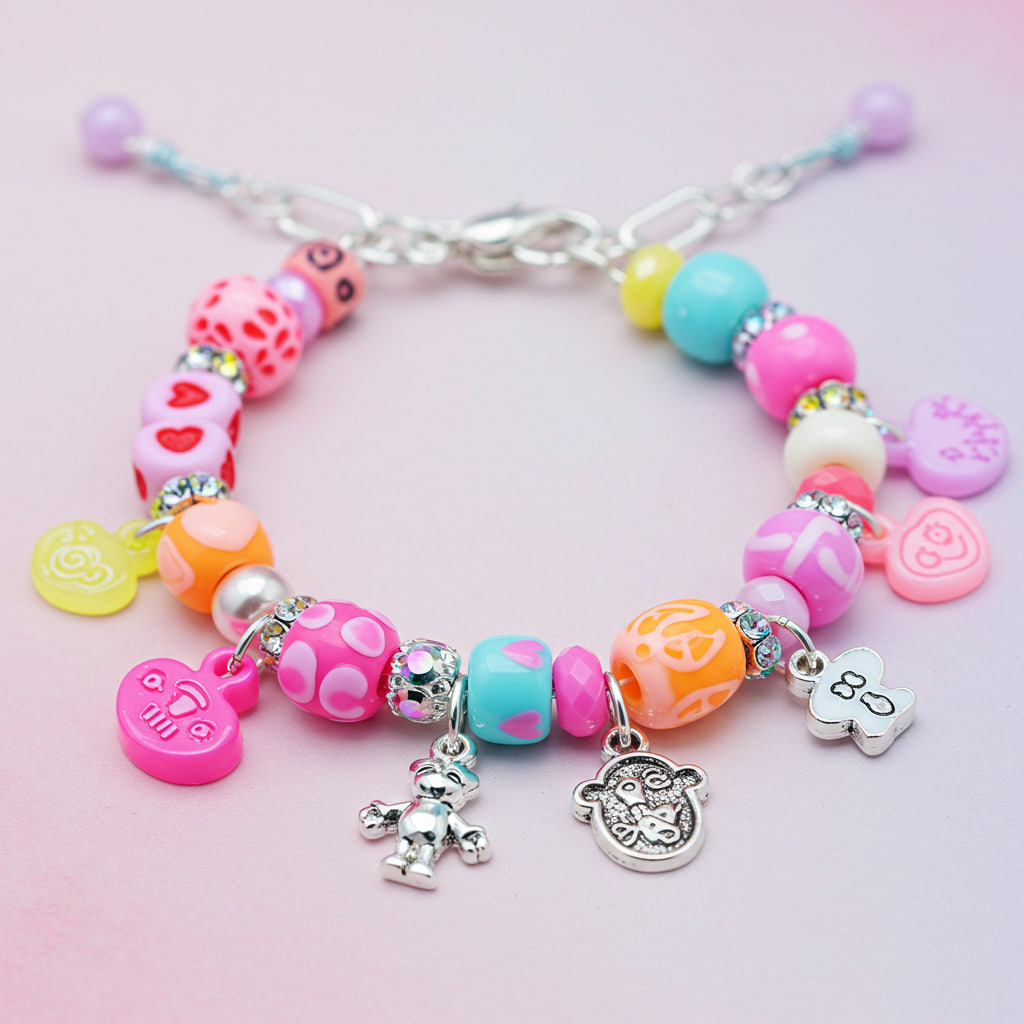
Before we begin, gather your materials. You will need colorful embroidery floss in various shades, preferably bright and pastel colors. Choosing the right colors is key to achieving that perfect kidcore look. You’ll also need strong scissors, a tape measure or ruler for precise measurements, and safety pins or binder clips to help keep your strands organized. For extra flair, you can add charms or beads – think cute cartoon animals, tiny flowers, or colorful letters. You can find these at most craft stores or online at places like Etsy or Amazon.
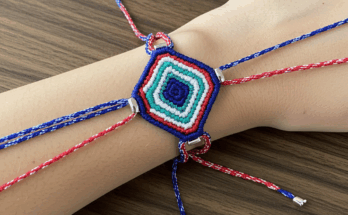
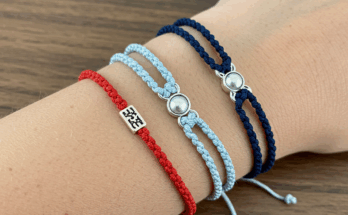
Choosing Your Bracelet Style
There are many styles of bracelets you can make! You could try a simple friendship bracelet, a chevron bracelet, or even a more complex design. For this tutorial, we’ll focus on a basic friendship bracelet, but feel free to experiment! Check out this YouTube video tutorial on other fun patterns.
Preparing Your Embroidery Floss
Cut eight strands of embroidery floss, each about 24 inches long. The length can be adjusted based on your wrist size and desired bracelet length; remember to account for knots. You’ll want to separate your strands and tie them together tightly at one end using a secure knot. This knot will be crucial to your bracelet’s longevity!
Creating the Basic Knots
Now comes the fun part! Create your first knot. Take two adjacent strands and create a simple overhand knot, pulling it tight. Repeat this process, moving along your strands and making sure to alternate between the same pair of strands for each knot. Keep the tension even to avoid any loose or uneven sections.
Adding Charms and Beads
Once you have a few inches of the basic bracelet pattern, add some personality! Before completing the next knot, slide on a charm or a few beads. If you have smaller beads, it’s best to add them closer together, before knotting. Ensure they are securely placed and the knot is tightly bound so your accessories don’t fall off. Let your imagination run wild with the bead and charm combinations! You can even match them to your outfits.
Finishing Your Bracelet
Once your bracelet is the desired length, tie off the other end with another secure knot. Trim any excess floss. You can use a lighter to gently melt the ends to avoid fraying, but be cautious and always supervise children when using a lighter. To wear your bracelet comfortably, tie a small sliding knot. This will help you adjust the size if needed. You can also secure the end with a little bit of clear nail polish or fabric glue.
Adding a Personal Touch
Embellish your bracelet further! Add small decorative elements such as tiny ribbons, glitter glue, or miniature stickers. For a truly personalized touch, weave in some small, meaningful beads, such as letter beads to spell your initials, or beads with miniature images that reflect your hobbies or favorite things. Let your creative juices flow!
Conclusion
And there you have it! Your very own kidcore bracelet. This is a great project to personalize and make your own. You can create countless fun designs using different colors and accessories. Remember to practice and experiment with different techniques and patterns to develop your skills! It’s all about having fun and expressing your creativity. Remember to share your creations with your friends and family.
Frequently Asked Questions
What kind of floss is best for making bracelets? Embroidery floss is ideal for making bracelets because it’s durable, comes in various colors and doesn’t stretch too easily.
How do I make the bracelet tighter or looser? The sliding knot allows for easy adjustment to fit your wrist.
Can I use other materials besides embroidery floss? You can experiment with other materials like yarn or string, but ensure they are strong enough to hold up over time.
What if I run out of floss in the middle of my project? Don’t worry! You can simply add another length of floss. Make sure you secure the knots properly to prevent the bracelet from unraveling.
Where can I find more bracelet-making inspiration? There are many resources available online. Check out Pinterest or Instagram for countless creative ideas and tutorials, such as this tutorial.