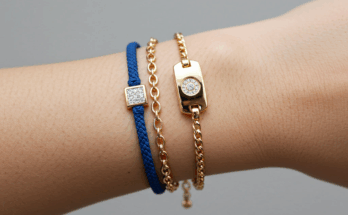
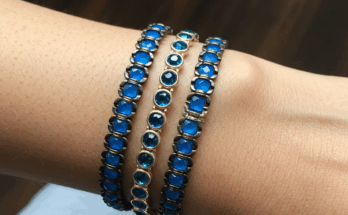
Get ready to unleash your creativity and add a personal touch to your jewelry collection with our new DIY bracelet tutorial! Whether you’re a crafting novice or an experienced artisan, this guide will empower you to create a stunning piece that reflects your unique style. Let’s dive into the art of bracelet making and discover how simple materials can transform into a fashion statement.
Choosing Your Materials
First things first, selecting the right materials is crucial for your bracelet project. You’ll need some basic supplies like beads, elastic cord, a clasp, and needle-nose pliers. For a personalized touch, consider adding charms or stones that hold special meaning to you. Don’t be afraid to mix and match colors and textures to create something truly unique.
Designing Your Bracelet
Before stringing your beads, take a moment to design your bracelet. Sketch out a pattern or layout your beads in order. This step is not only helpful for envisioning your end product but also ensures you have all the necessary components. Consider visiting Pinterest for inspiration on different styles and trends.
Stringing Beads
Now comes the fun part—stringing your beads! Begin by cutting the elastic cord to your desired length, remembering to allow for the clasp. A useful trick is to tape one end of the cord to your work surface, preventing beads from slipping off as you work. Then, follow your design and start stringing, keeping the tension consistent.
Securing the Clasp
Securing the clasp may seem daunting, but it’s simpler than you think. If using a traditional clasp, thread both ends of the bracelet through the clasp and tie a secure knot. For those opting for a more modern look with a knot, make sure it’s tight and secure, possibly adding a drop of super glue for extra hold. Hide the knot inside a bead for a neat finish.
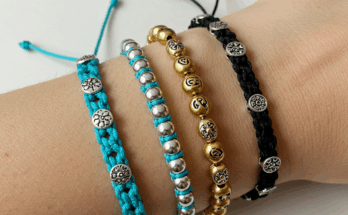
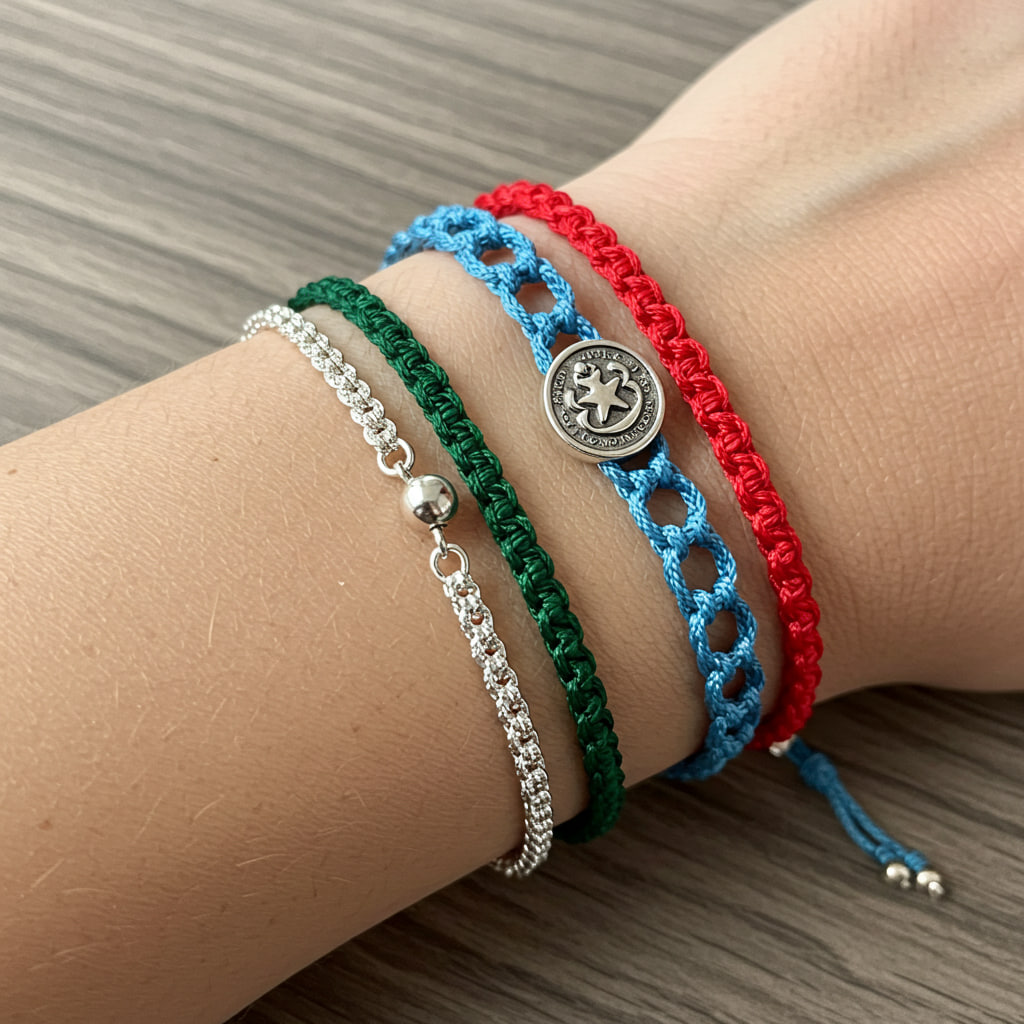
Adding a Personal Touch
This is where your bracelet begins to really shine. Personal touches like initials, birthstones, or even hand-painted beads can turn a simple accessory into a meaningful keepsake. Explore local craft stores or Etsy for unique additions that speak to you.
Final Adjustments
Before you wear your bracelet out, make sure to give it a good once-over. Check for loose beads, ensure the clasp is tight, and adjust any uneven spacing between beads. Now’s also a good time to trim any excess cord from your knots, if you haven’t already.
Sharing Your Creation
Don’t keep your beautiful creation to yourself—share it! Take a picture and post it on your favorite social media platform or gift it to a friend who appreciates handmade treasures. The joy of making something yourself is even greater when you can spread that happiness to others.
In conclusion, creating your own DIY bracelet is not only a fun and rewarding experience but also an opportunity to make something truly unique. By following these simple steps and pouring a little love into your work, you’ll end up with a piece of jewelry that’s as special as you are.
Frequently Asked Questions
What if I don’t have all the materials? No worries! Crafting is all about creativity. Substitute materials with what you have at home, or check out local craft stores for supplies.
Can I use different types of beads? Absolutely! Feel free to experiment with different sizes, shapes, and materials. The more varied, the more unique your bracelet will be.
Is it okay if my bracelet isn’t perfect? Yes, definitely. Part of the charm of DIY is the uniqueness and slight imperfections. They add character to your creation!
How do I make my bracelet durable? Securing knots tightly and applying a dab of super glue can help. Also, using quality materials is key to durability.
Can these bracelets be gifted? Yes, handmade bracelets make thoughtful and personal gifts. Consider customizing them for your loved ones to add an extra special touch.