Welcome to our latest DIY project – a bracelet tutorial that will guide you through creating your very own stylish accessory. Whether you’re crafting for fun, gifting, or even starting your own small jewelry business, this tutorial is for you. Let’s dive into the world of jewelry making together!
Materials Needed
Before we begin, ensure you have all the necessary materials. You will need some beads, a bracelet string (elastic cord or wire), a pair of scissors, and a clasp. Optionally, you might want charms or spacers to add a personal touch. Check out this link for a complete list of materials and where to find them.
Designing Your Bracelet
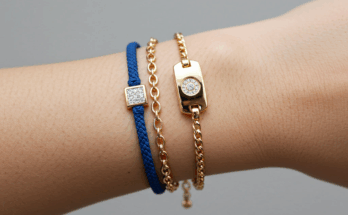
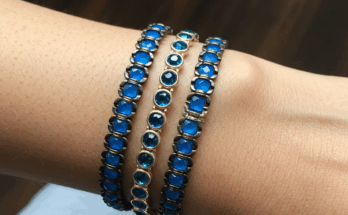
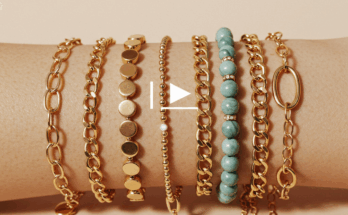
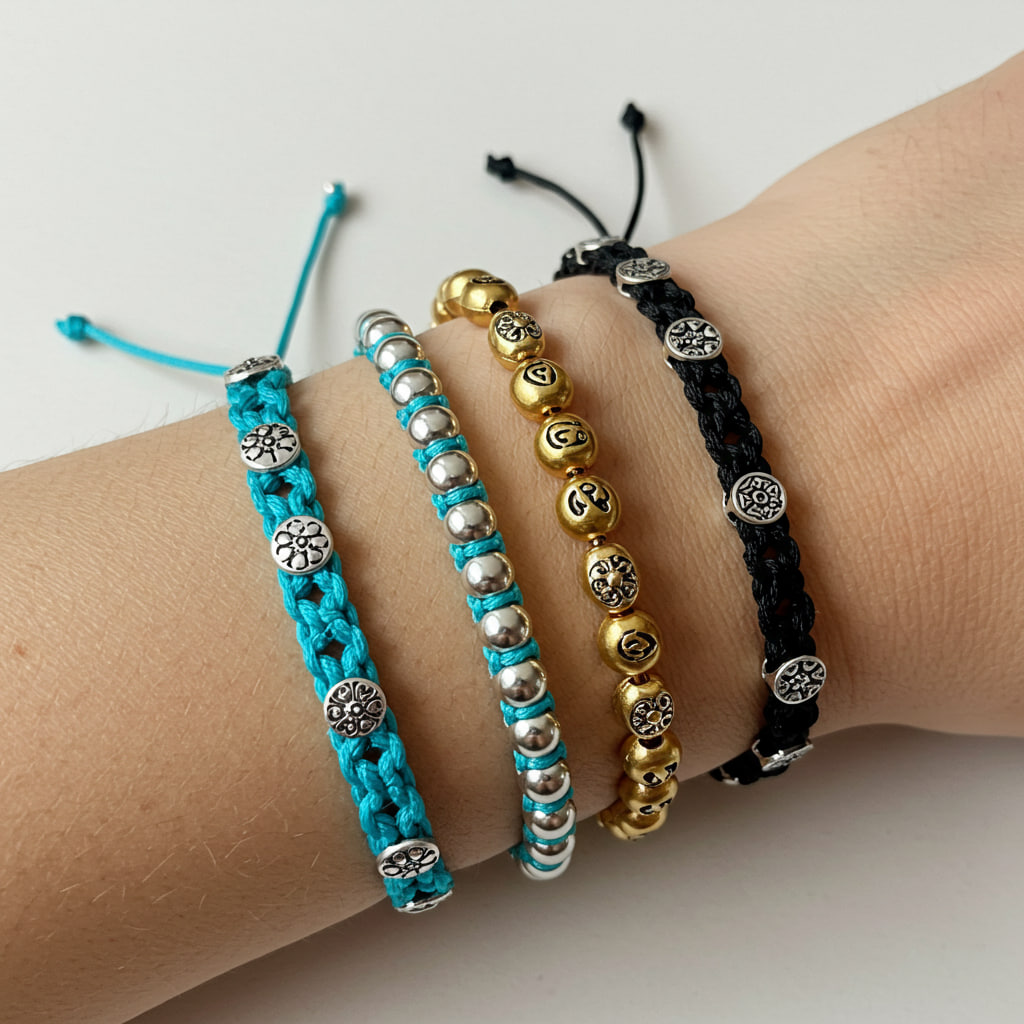
Start by envisioning your bracelet. Think about the color scheme, patterns, and whether you want to incorporate any special elements like charms. For inspiration, visit our gallery of designs.
Measuring and Cutting the String
Measure your wrist and add an extra 4 inches to ensure you have enough length to work with and tie off your bracelet. Carefully cut the string with scissors at your measured length.
Stringing the Beads
Begin stringing your beads onto the bracelet string in the pattern you’ve designed. This is where your creativity truly shines. For detailed stringing techniques, see this tutorial.
Adding a Clasp
If using a clasp, make sure to attach it securely to the ends of your bracelet. This might require some additional tools like pliers, depending on your clasp type.
Knotting and Finishing Touches
For those using an elastic cord, tie a secure knot to finish. You might want to add a drop of super glue for extra security. Trim any excess string.
Customizations and Variations
Your bracelet doesn’t have to end here. Consider adding charms between beads or using different materials for a unique look. Explore various customization options in our customization section.
Sharing Your Creation
Once your bracelet is complete, don’t forget to share it with the world. Post pictures of your creation on social media, and tag us! We love seeing your unique designs and may feature them on our website.
In conclusion, making your own bracelet can be a fun and rewarding project. Not only do you get a beautiful piece of jewelry at the end, but you also gain the satisfaction of having made it yourself. We hope this tutorial inspires you to create many more beautiful pieces.
Frequently Asked Questions
What if I make a mistake? No worries! Part of the DIY charm is learning through trial and error. Don’t be afraid to undo and redo until you’re happy with your creation.
Can kids do this project? Absolutely, with adult supervision, especially when using scissors and small beads. It’s a great way for them to improve fine motor skills and creativity.
How long does it take to complete a bracelet? It varies depending on your design and skill level, but generally, you can complete a simple bracelet in under an hour.
Where can I get supplies? Supplies are readily available online or at local craft stores. Check out the link above for recommended suppliers.
Can I sell the bracelets I make? Yes! Homemade bracelets can be a fantastic item to sell, especially if you establish a unique style or personal brand. Just be sure you’re pricing them to cover your materials and time.